There is something almost magical about wrapping yourself in a blanket that you made with your own two hands. Every row holds a little piece of your time, your patience, and your care, and when you finally drape it over the sofa or tuck it around your knees on a chilly evening, you feel a quiet pride that no store bought throw could ever give you. If you have been dreaming about knitting your first blanket but worry it might be too big, too hard, or too slow, this guide was written for you.
The truth is that a beginner knit blanket is one of the best first projects you can choose. It uses just two stitches, it has no shaping at all, and it grows steadily with a rhythm that is soothing rather than stressful. You do not need fancy skills or a drawer full of gadgets. You need soft yarn, a pair of comfortable needles, a cozy spot to sit, and the willingness to take it one row at a time. In this tutorial I will walk you through every stage, from choosing materials and casting on to knitting your first rows, watching the blanket grow, and binding off with a clean, tidy edge.
Why a Blanket Is the Perfect First Knitting Project
Many new knitters start with scarves, and scarves are lovely, but a blanket offers some real advantages. Because it is made up of simple rows repeated again and again, you get an enormous amount of practice without ever having to learn something new. By the time you reach the middle of the blanket, your tension will be even, your hands will be relaxed, and the stitches will feel natural. A blanket is basically a long, comfortable lesson in knitting that ends with something beautiful.
Chunky yarn is another secret weapon. When you knit with thick yarn on large needles, each stitch is big and easy to see. You can spot mistakes quickly, fix them without squinting, and watch your progress show up in a satisfying way. A chunky blanket can grow several inches in a single evening, which keeps your motivation high. Instead of feeling stuck, you feel the project moving forward, and that makes all the difference for a beginner.
There is also no pressure about fit. A blanket does not have to match a measurement the way a sweater does. If it ends up a little wider or a little longer than you planned, nobody will ever know, and it will still keep you warm. That freedom allows you to relax, enjoy the process, and learn without worrying about getting every detail exactly right.
Choosing the Right Yarn for Your First Blanket
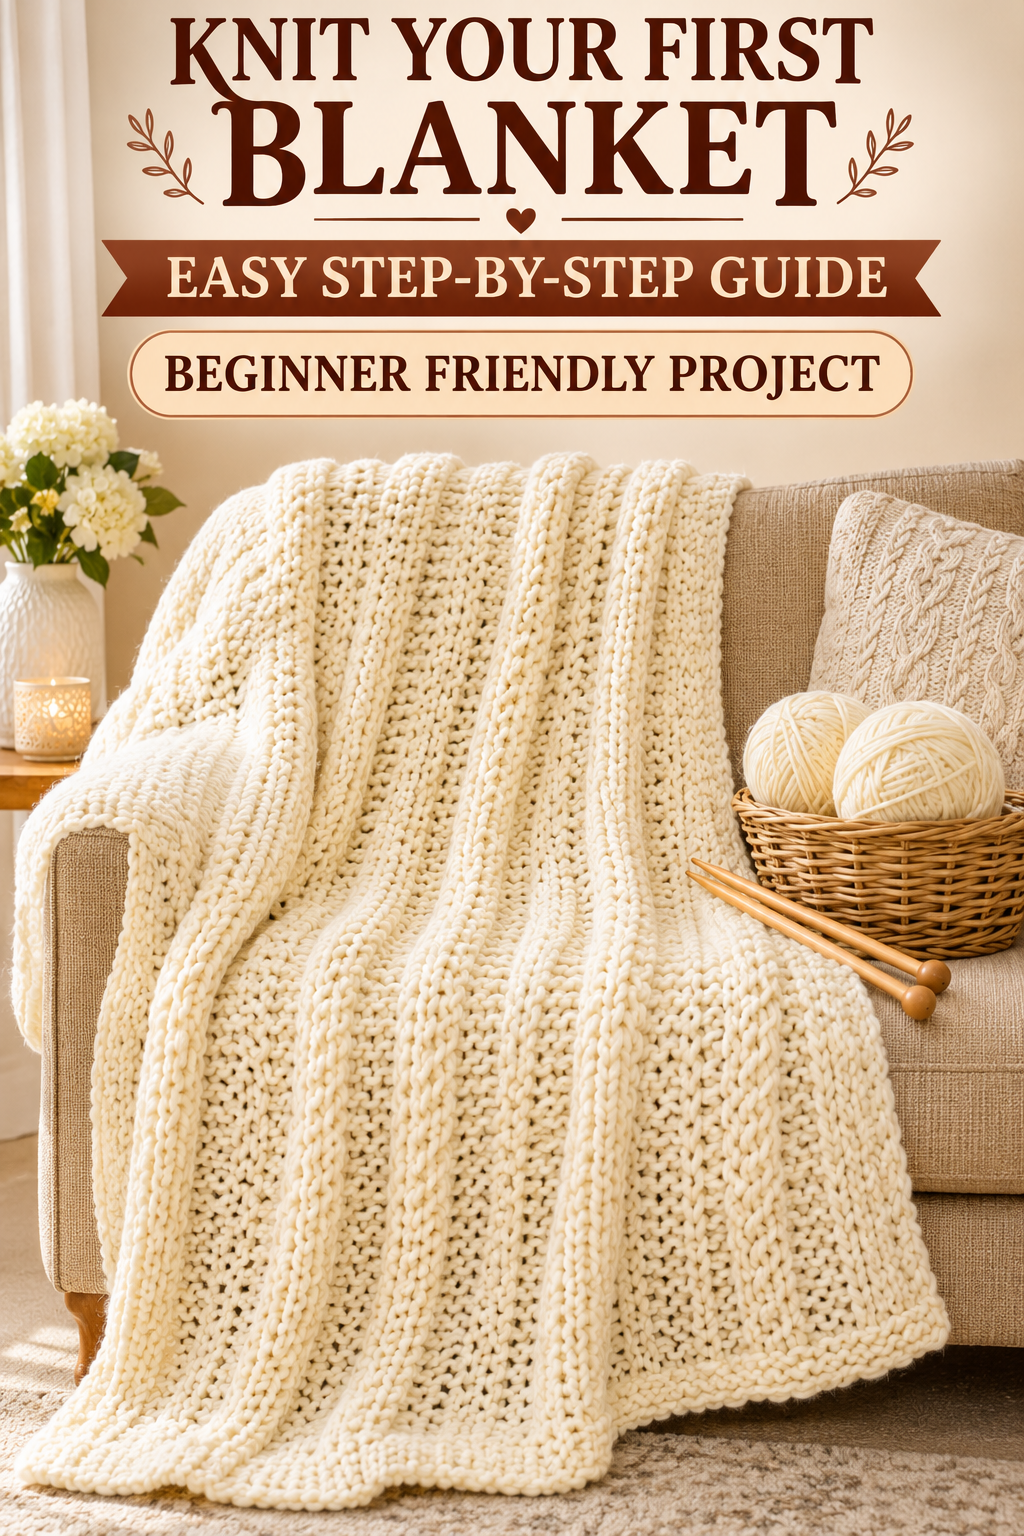
The yarn you pick will shape how your blanket looks, feels, and behaves, so it is worth spending a little time here. For a first project I strongly recommend a super bulky or chunky weight yarn in a smooth, soft fiber. The cream colored yarn shown in the photos is a wonderful example. It is thick, plush, and gently twisted, which means it is easy to work with and shows off every stitch.
Look for a yarn that is soft against your skin, because this blanket will spend a lot of time close to you. Merino wool blends are cozy and warm, though some people prefer a wool and acrylic mix because it is easier to wash. Pure acrylic is budget friendly and machine washable, which is a real advantage if you are making a blanket for a baby or for a home with pets. Cotton chunky yarn works too, though it has less stretch and can feel a bit heavy for a large blanket.
A light, solid color like cream, oatmeal, or soft grey is the best choice for a beginner. Light shades make it easier to see your stitches, and a neutral tone fits every room in the house. Dark yarns can hide stitches and make it harder to spot mistakes, so save those for later when you feel more confident.
How much yarn do you need? A lap sized blanket of about 34 inches wide and 45 inches long typically takes somewhere around 900 to 1200 yards of super bulky yarn, though this depends on your stitch pattern and tension. Check the yardage on the label and do a little math, since each brand is different. Always buy one extra skein, because dye lots can change between purchases and it is a heartbreak to run out near the end. Keep your receipt, and you can usually return any unopened skeins.
The Tools You Will Need
Your toolbox for this project is delightfully small. The most important item is a pair of knitting needles, and for a chunky blanket I suggest straight needles in a size between 10 and 12 millimeters. The wooden or bamboo needles in the photos are a great choice, since the natural material has a little bit of grip that stops stitches from sliding off too quickly. Metal needles can feel slippery for a beginner, and plastic ones can sometimes bend under the weight of a wide project.
Here is a tip that helps a lot. If your blanket will be wide, consider a circular needle instead of straight needles. You still knit back and forth in rows, but the long cable holds the weight of the blanket in your lap instead of dragging on your wrists. Your hands will thank you after a long knitting session.
Beyond needles, you will want a pair of sharp scissors, a large eyed yarn needle for weaving in ends, and a measuring tape. A handful of stitch markers is useful too, especially if you want to mark the start of your row or keep track of counts. A little dish to keep them in is a sweet touch and stops them from wandering off the table. If you like to be organized, grab a small notebook or a row counter so you can keep track of where you are.
Understanding the Stitches You Will Use
You only need to know two stitches for this blanket, the knit stitch and the purl stitch. The knit stitch is the foundation of almost everything in knitting, and the purl stitch is simply its mirror image. When you combine them, you can create wonderful textures without any extra effort.
For this blanket, I recommend a simple textured pattern called seed stitch. It creates a lovely bumpy, pebble like fabric that looks rich and cozy, and it has a very important practical benefit. Unlike plain stockinette, which curls up at the edges, seed stitch lies flat. That means your blanket will look neat and stay square without any extra borders or blocking drama.
Seed stitch is worked by alternating knit and purl stitches across each row, and then switching them on the next row so that every knit stitch sits above a purl stitch and the other way around. It sounds fancy, but it is very easy once you see it in action. If you want an even simpler path, you can knit every row, which creates a classic garter stitch fabric with soft ridges. Both options are beginner friendly, and both create a beautiful, squishy blanket.
If you have never held knitting needles before, take twenty minutes to practice a few rows of plain knit stitch on some scrap yarn before you start the real thing. Watching a short video on the knit stitch and the purl stitch can also help, since seeing the motion makes it click much faster than reading about it. Once you have the movement in your hands, you are ready.
Getting Your Gauge and Planning the Size
Now let me talk about the part that many beginners are tempted to skip, which is the swatch. A swatch is a small test square, usually about six inches across, that tells you how your yarn, needles, and stitch pattern work together. It also shows you how many stitches fit into four inches, which is called your gauge.
Cast on about 15 stitches, work in your chosen stitch for around 20 rows, and then lay the swatch flat and measure it. Count how many stitches span four inches, and write that number down. If you get about 8 stitches over four inches, then a blanket cast on with 69 stitches will be a little over 34 inches wide. If your swatch feels stiff and tight, move up a needle size. If it feels floppy and loose, go down a size.
Decide how big you would like your blanket to be before you begin. A baby blanket is usually around 30 by 30 inches. A cozy lap throw is about 34 by 45 inches. A couch throw can stretch to 50 by 60 inches, and a bed topper or large blanket will be much bigger still. For your very first project, I suggest the lap throw size, because it is large enough to be useful and small enough to finish without losing steam.
One small but helpful detail is that seed stitch needs an odd number of stitches to work properly. That is why I mentioned 69 earlier. When you calculate your cast on number, make sure it ends up as an odd number, and your pattern will line up perfectly from the very first row.
Step One, Cast On
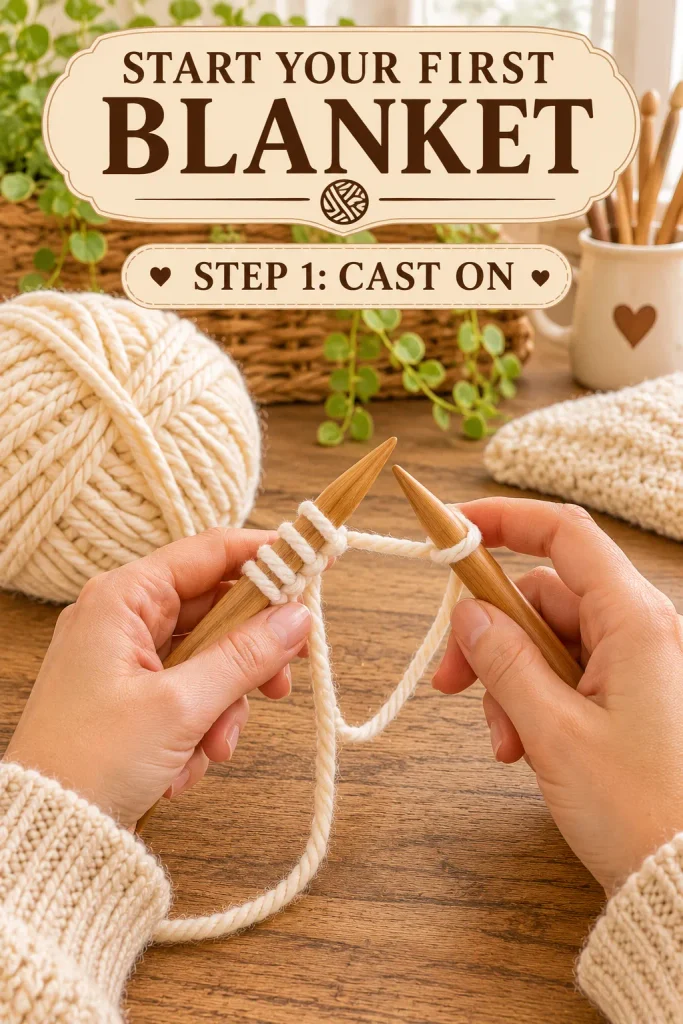
Every knitting project starts with the cast on, which is simply the way you create your first row of stitches on the needle. It is the foundation of your blanket, so it is worth taking a moment to do it well. The photo above shows the first loops sitting on the needle, ready for the next step.
For a blanket, I recommend the long tail cast on. It creates a neat, stretchy edge that holds up well to wear and washing. It also looks tidy and gives a lovely finished edge along the bottom of your blanket. The only challenge is estimating how long your starting tail should be.
A good rule of thumb is to leave about one inch of tail for every stitch you plan to cast on, plus a little extra. For 69 stitches with chunky yarn, that means a tail of around 80 to 90 inches. This sounds like a lot, but chunky yarn uses up length quickly, and it is much better to have too much than too little. If you are nervous, you can wrap the yarn around the needle in loops to estimate, then add some extra for safety.
To make the long tail cast on, make a slip knot and place it on your right needle. This counts as your first stitch. Hold the needle in your right hand, and with your left hand, spread the working yarn and the tail so that they form a V shape, with the tail around your thumb and the working yarn around your index finger. Bring the needle under the loop on your thumb, then over and under the loop on your index finger, and pull a new loop back through the thumb loop. Let go of your thumb loop, tighten the new stitch gently, and repeat.
Do not pull your stitches too tightly. A common mistake is to cast on so snugly that the bottom edge puckers and the first row becomes hard to knit. Leave a little breathing room between each stitch, and think of them as loose, friendly loops rather than tight little knots. If you want extra insurance, cast on with a needle one size larger than your working needle, which gives the edge more stretch.
Count your stitches when you are done. Counting at this stage may feel tedious, but it saves you from discovering a mistake after ten rows. Slide each stitch along the needle as you count, or place a marker after every twenty stitches so that you only have to count in small groups. Once you have the right number, you are ready for the first row.
Step Two, Knit Your First Rows
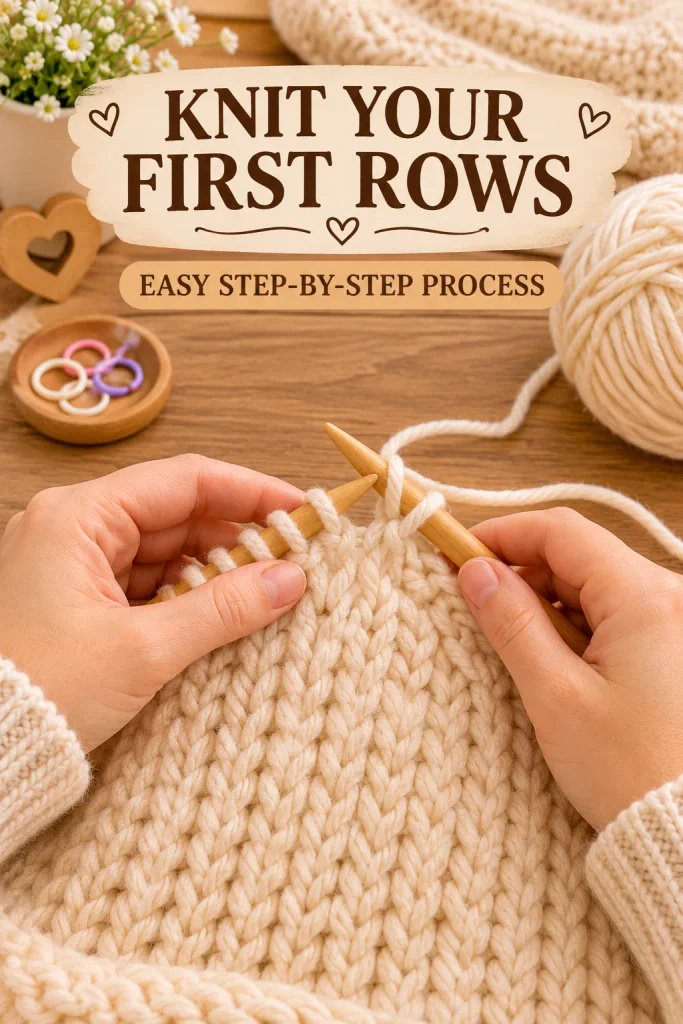
This is where the fun really begins. Your first few rows are the moment when your blanket stops being an idea and starts becoming a real piece of fabric. Hold your needle with the cast on stitches in your left hand, and the empty needle in your right hand. Take a deep breath, relax your shoulders, and let your hands settle into a comfortable position.
Your First Row
For seed stitch, your first row is knit one, purl one, repeated across the entire row. Since you have an odd number of stitches, the row will begin with a knit stitch and end with a knit stitch. To make a knit stitch, insert the right needle into the front of the first stitch from left to right, wrap the working yarn around the right needle counterclockwise, pull the loop through the stitch, and slide the old stitch off the left needle. You now have one new stitch on your right needle.
For the purl stitch, bring the yarn to the front of your work, insert the right needle into the front of the next stitch from right to left, wrap the yarn around the needle counterclockwise, and push the new loop through to the back. Slide the old stitch off the left needle. Then bring the yarn to the back again and make a knit stitch. Keep alternating this way until you reach the end of the row.
At first, moving the yarn between the front and the back can feel awkward. Do not worry, because it will become second nature within a few rows. A little trick is to say the pattern quietly to yourself, knit, purl, knit, purl, and let the rhythm carry you. Many knitters find that this steady, repetitive motion is deeply calming, a bit like meditation with a ball of yarn.
Your Second Row
When you finish the first row, turn your work so that the needle with all your stitches is in your left hand again. For the second row, you reverse the pattern. Since the first stitch of the previous row was a knit, the first stitch of this row will be a knit too, because it sits above a knit stitch that now needs to become a purl on the face of the fabric. Wait, let me say that more simply.
The easy rule for seed stitch is this. Knit the stitches that look like a purl bump, and purl the stitches that look like a knit V. Look at the stitch in front of you before you work it. If you see a smooth little V, purl it. If you see a small bump, knit it. Once you learn to read your stitches like this, you never have to memorize the row number, because the fabric tells you what to do.
With an odd number of stitches, you will find that every row begins and ends with a knit stitch, and the pattern simply alternates in between. That gives you tidy, even edges on both sides, which is exactly what you want for a blanket.
Common Beginner Hiccups
Everyone makes a few small mistakes in the first rows, and that is completely normal. If you notice that your edges look wavy, you may be accidentally adding extra stitches by wrapping the yarn over the needle at the start of a row. Count your stitches at the end of the first few rows to catch this early. If your stitch count changes, do not panic. Simply unknit back to the mistake, one stitch at a time, and try again.
If your fabric looks tight and hard to work, loosen your grip. Many beginners squeeze the needles and yarn as if they might escape. Try holding the needles lightly, like you would hold a pencil, and let the yarn glide through your fingers. If your stitches look loose and sloppy, wrap the yarn around your fingers once more to create a little extra tension. You will find your own comfortable rhythm in time.
If you drop a stitch, do not throw your project across the room. A dropped stitch can be rescued with a crochet hook, by catching the loose loop and pulling it up through the ladder of bars below. Chunky yarn makes this much easier than fine yarn, since everything is so visible. You may even grow to enjoy fixing mistakes, because every repair makes you a more capable knitter.
Step Three, Watch Your Blanket Grow
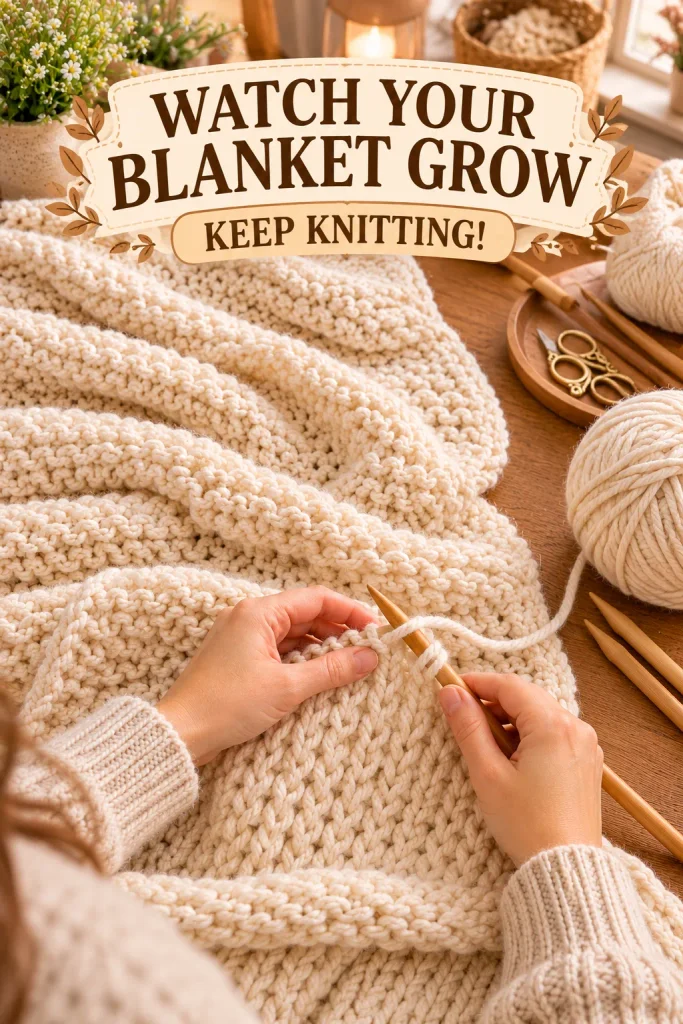
After the first ten or fifteen rows, something wonderful happens. Your knitting starts to look like a real fabric, and the rows begin to stack up in a plush, pebbly texture. This is the stage shown in the photo above, where the blanket spreads across the table and you can finally see what you are creating. It is one of the most satisfying parts of the whole project.
This middle stretch is the longest, and it can sometimes feel slow. But it is also the most relaxing, because you no longer need to think about each stitch. Your hands know what to do, and you can listen to music, enjoy a podcast, or chat with a friend while you knit. Many people find that this is when knitting becomes a true comfort habit.
Building a Routine
The key to finishing a blanket is consistency. You do not have to knit for hours each day. Even twenty minutes in the evening adds up to several rows, and over a few weeks those rows become a blanket. Try to attach your knitting to a daily habit, like your morning coffee or the quiet time after dinner. A cozy corner with good light, a comfy chair, and a little basket for your yarn makes it easy to pick up your project without friction.
Keep a small notebook or use a row counter to track your progress. Write down the number of rows you complete each day, and watch the total grow. Seeing the numbers go up gives you a little burst of satisfaction and helps you estimate how long the project will take. If your blanket needs about 180 rows, and you knit 15 rows a day, you will finish in about twelve days. That is a very doable goal.
Measuring as You Go
Every so often, lay your blanket flat and measure the length. Do this gently, without stretching the fabric, and measure from the cast on edge to the needle. Knitted fabric can look shorter when it is bunched up on the needle and longer when it is spread out, so measuring on a flat surface gives you a more accurate idea. When your blanket reaches about 43 inches, you are close to done, since a little extra length will come from the bind off and from relaxing the fabric.
If you notice that your blanket looks wider at the top than at the bottom, your tension may have changed over time. This happens to all of us, because as you get more comfortable, your stitches often become a little looser. Do not worry about small differences. A gentle wash and a light blocking will even everything out, and the blanket will look beautiful.
Joining a New Ball of Yarn
At some point, you will run out of yarn in your first skein, so you will need to join a new one. The easiest way is to do this at the edge of the row. Simply drop the old yarn, leaving a tail of about six inches, pick up the new yarn, and keep knitting, again leaving a six inch tail. Tie the two tails together in a loose knot to keep things secure, and later you can weave them into the blanket.
Joining at the edge keeps the ends out of the middle of your blanket, where they could pop out or create a bump. Try to join a new ball when you still have a few yards left in the old one, rather than waiting until the very last second. If you are unsure whether you have enough yarn for another row, remember that you need about four times the width of your blanket in yarn to knit a single row. When in doubt, start a new ball.
Keeping the Edges Neat
Neat edges make a big difference to how professional your blanket looks. Keep your tension even at the first and last stitches of every row, and try not to pull the yarn too tight when you turn your work. A good habit is to knit the first stitch of every row, which creates a tidy little chain along the side. Since seed stitch with an odd number of stitches already starts and ends with a knit, your edges will take care of themselves, and the blanket will stay straight and tidy.
Dealing with Mistakes Without Stress
Let me say something encouraging here. Every knitter, no matter how experienced, makes mistakes. The difference is that experienced knitters have learned that mistakes are fixable and not a disaster. A few small errors will not ruin your blanket, and in a textured stitch like seed stitch, tiny imperfections hide beautifully in the pebbled surface.
If you find an error just a few rows back, you can tink, which is knit spelled backward. This means undoing stitches one at a time by reversing the motion, which gives you full control and avoids dropping anything. If the error is much further down, you can decide whether it is bothering you enough to fix. Sometimes the best choice is simply to leave it and let it become part of the story of your blanket.
If you ever need to take a break in the middle of a row, it is better to finish the row first, or at least place a marker so you remember where you stopped. Slide your stitches to the middle of the needle so they do not fall off, and tuck the project in a basket or a bag. When you return, check which direction you were knitting by looking at where the working yarn is attached.
Step Four, Finish Your First Blanket
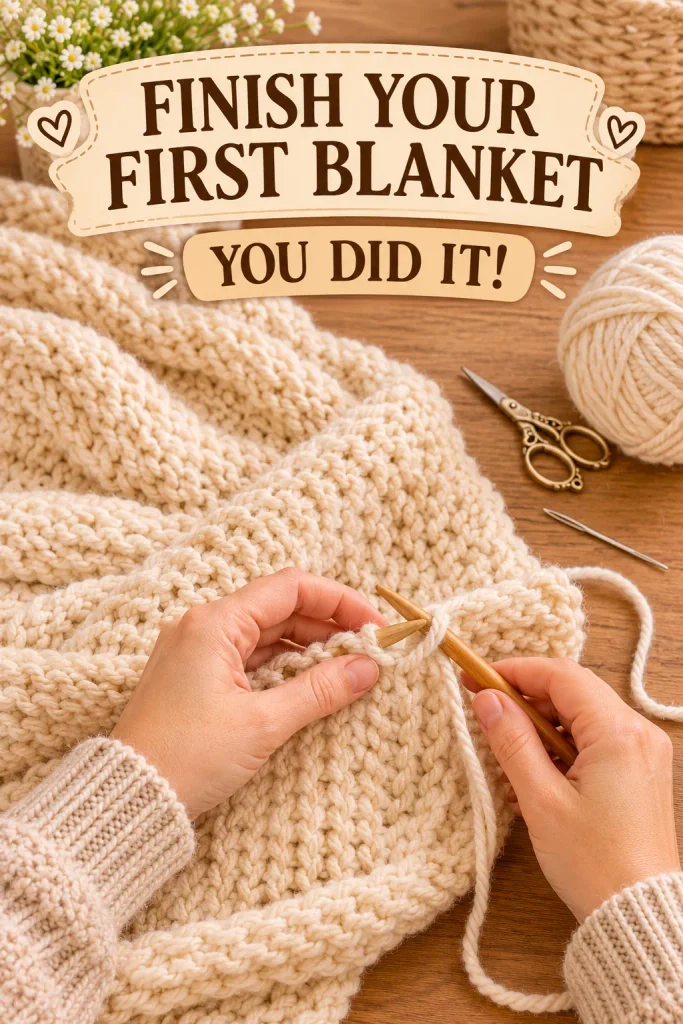
You did it. Well, almost. When your blanket reaches the length you want, it is time to bind off, which is how you close the last row of stitches so that your work does not unravel. This is the moment shown in the photo above, with the final stitches being gently secured on the needle. It is a lovely moment, so take your time and enjoy it.
How to Bind Off
The standard bind off is easy and works well for a blanket. Knit the first two stitches of the row. Then use the tip of your left needle to lift the first stitch on the right needle up and over the second stitch and off the needle. You now have one stitch left on your right needle. Knit another stitch, and lift the previous one over it again. Continue this way across the entire row.
If you are working in seed stitch, you can bind off in pattern, knitting the knit stitches and purling the purl stitches as you go. This keeps the top edge looking consistent with the rest of the blanket. Whichever way you choose, the most important thing is to keep your bind off loose. A tight bind off can pull in the top edge and make your blanket look narrower at the top than at the bottom.
A good trick is to use a needle one or two sizes larger for the bind off row, or to simply keep your tension relaxed and let each stitch have a little extra room. After you have bound off the last stitch, cut your yarn, leaving a tail of about six inches, pull it through the final loop, and tighten it gently.
Weaving in the Ends
Now you get to tidy up all the loose tails that are hanging around. Thread each one onto your yarn needle and weave it into the back of the fabric. Run the needle along the edge for a few inches, then turn and run it back in the opposite direction, which locks the tail in place. Trim the extra yarn close to the fabric, but not so close that it can slip out.
Take your time with this step. Careful finishing is what makes a handmade blanket look polished and keeps it from coming apart with use. If you joined new balls of yarn along the way, you will have a few ends to deal with, and that is perfectly normal. Weave each of them in using the same technique.
Blocking for a Beautiful Finish
Blocking is the last little touch that gives your blanket a clean, balanced look. Fill a basin or a clean sink with lukewarm water and add a small amount of gentle wool wash. Place your blanket in the water, press it down gently so it soaks through, and let it sit for about twenty minutes. Do not rub or twist it, because that can distort the stitches.
Lift the blanket carefully, supporting its weight, and press out as much water as you can by rolling it in a thick towel. Lay it flat on a clean surface, such as a bed or a set of blocking mats, and gently pat it into shape. Check the measurements and straighten the edges. Let it dry completely, which may take a day or two for a chunky blanket, and flip it occasionally so air can reach both sides.
When it is fully dry, the stitches will look even, the edges will lie flat, and the whole blanket will feel softer and more relaxed. This is the finishing touch that turns a nice handmade project into something you would be proud to show anyone.
Ideas to Make Your Blanket Your Own
Once you have the basics down, there are so many ways to add a personal touch. You can try different colors, such as soft sage, blush pink, or warm grey, and the same simple pattern will look entirely different. You can add a border in a contrasting color for a crisp frame, or knit stripes by changing yarn every ten or twelve rows. You can even add pom pom corners or a simple tassel fringe for a playful look.
If you want to add a bit more texture, try alternating sections of seed stitch with sections of garter stitch, or add a simple ribbed border at the top and bottom. These small changes introduce new skills without making the project more difficult, and they let you grow as a knitter at your own pace.
A handmade blanket also makes a meaningful gift. A cream chunky blanket is a thoughtful present for a new baby, a wedding, a housewarming, or a friend who needs a bit of comfort. Add a handwritten note about the care instructions, and your gift will feel even more personal. Many knitters find that giving away their first blanket becomes a core memory, and that the recipient treasures it for years.
Caring for Your Handmade Blanket
Taking good care of your blanket keeps it looking beautiful for a very long time. If you used a washable yarn, you can often machine wash it on a gentle cycle in cool water and lay it flat to dry. If you used wool or a wool blend, hand washing is a safer choice. Always check the label on your yarn for the exact care instructions, and keep a spare label tucked away so you can refer to it later.
Avoid hanging your blanket while it is wet, since the weight of the water can stretch it out of shape. Dry it flat, away from direct heat or sunlight, which can fade or damage the fibers. If your blanket sheds a little fuzz at first, that is normal for a soft, chunky yarn, and it settles after a few washes. A gentle shake or a lint roller removes any loose fluff.
When storing your blanket, fold it loosely and place it in a breathable bag or basket. Avoid plastic bags that trap moisture, and add a cedar block or a lavender sachet if you want to keep moths away. With a little care, your blanket will stay soft and cozy through many winters.
Frequently Asked Questions About Knitting a First Blanket
Many beginners wonder how long it takes to knit a blanket. The honest answer is that it depends on your pace, but a chunky lap blanket often takes between two and six weeks if you knit for a bit each day. Because the yarn is thick, the rows build up quickly, and you will see steady progress.
Another common question is whether a beginner can really knit a blanket without any experience. Absolutely. If you can learn to cast on, knit, and purl, you can make a blanket. The pattern is simple, the stitches are forgiving, and the large needles make mistakes easy to spot and fix. Thousands of knitters have made their very first project a blanket and loved every minute of it.
People also ask about the best needle size for a chunky blanket. As a general rule, needles between 10 and 12 millimeters work well with super bulky yarn. Check the label on your yarn for a recommended size, and use your swatch to decide whether you want a tighter or looser fabric. Remember that you can always adjust your needle size to get the feel you like.
Finally, many wonder what to do if they run out of yarn before finishing. The best solution is prevention, so buy an extra skein from the same dye lot at the start. If it is too late for that, look for a matching shade and use it for a border or a stripe, which turns a problem into a design feature.
Final Thoughts
Knitting your first blanket is a wonderful adventure, and it is far more achievable than it might seem. You start with a simple cast on, you knit your first rows with curious hands, you watch the fabric grow a little more each day, and you finish with a neat bind off that closes the chapter. Along the way, you learn real skills, you build confidence, and you create something that will keep you warm for years.
Do not worry about making it perfect. The small wobbles, uneven rows, and tiny imperfections are part of what makes a handmade blanket feel alive and loved. When you curl up under it on a rainy afternoon, you will not see the mistakes. You will remember the evenings you spent making it, the favorite songs you listened to, and the joy of watching it come together.
So gather your soft yarn, choose your cozy needles, and make that first stitch today. You have everything you need to succeed, and your first blanket is waiting to be born. Happy knitting!