
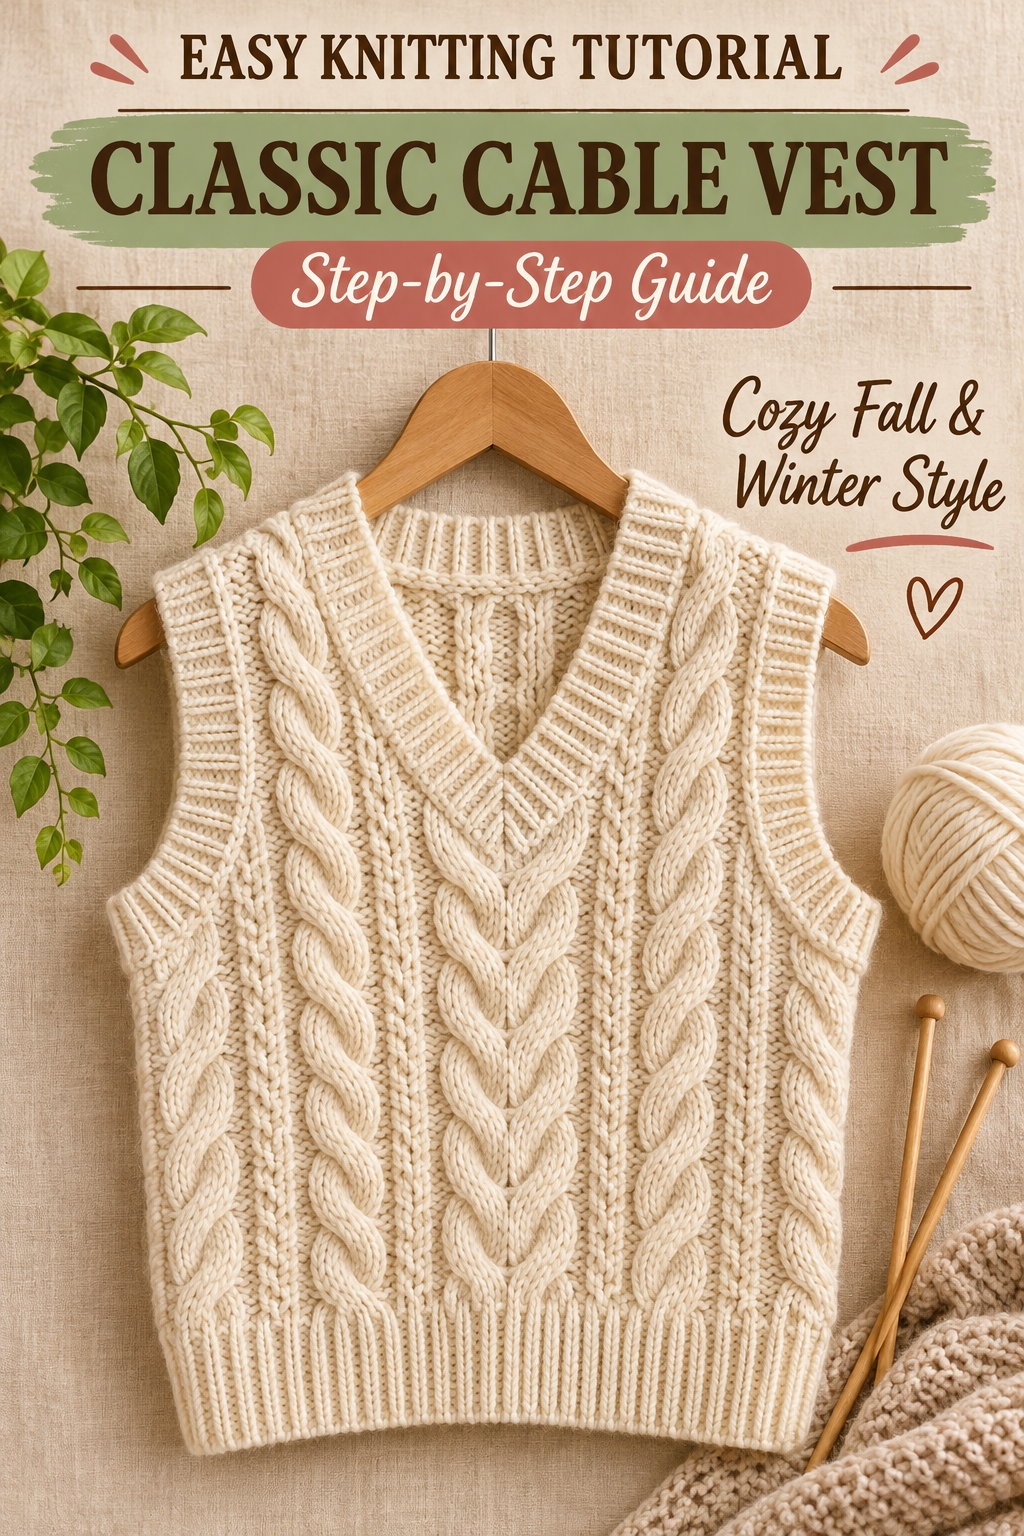
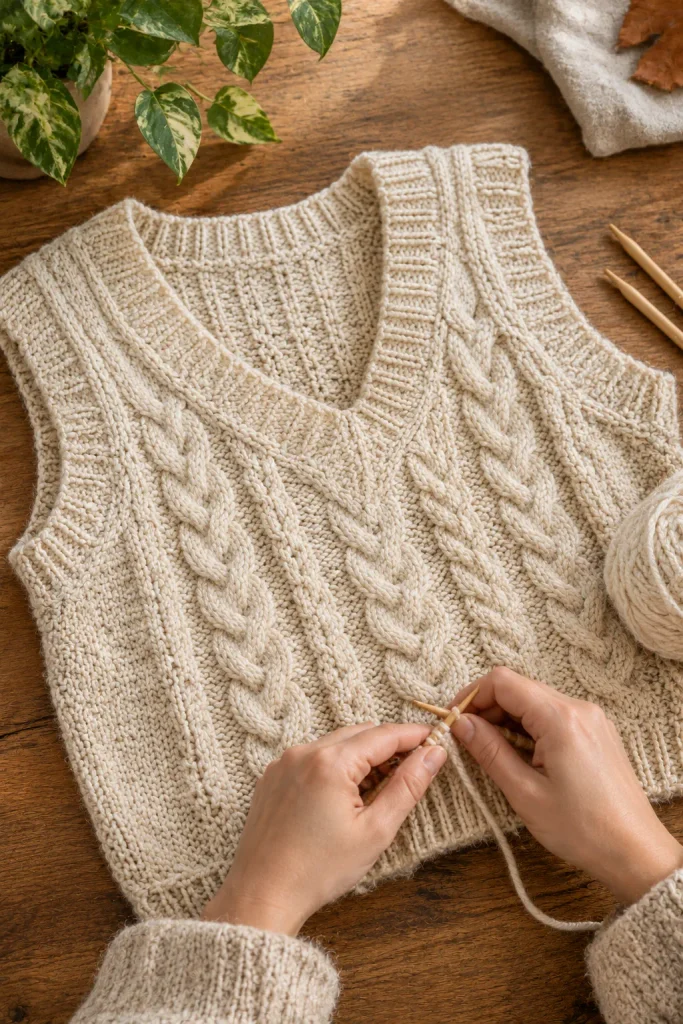
There’s a moment every knitter knows. You finish a project, hold it up, and think, “I actually made this.” For me, that moment came with a cream cable vest.
I’d been knitting scarves and hats for a while and kept eyeing cable sweaters in shop windows, assuming they were out of reach. Cables looked like magic. Those twisting ropes of yarn seemed like something only experienced knitters could pull off. Then I learned the secret: a cable is just a few stitches that swap places. That’s it. No special talent required.
This easy cable knit vest tutorial walks you through the whole project, from casting on to sewing the last seam. It’s a classic sweater vest with a V-neck, twisted rope cables, and neat ribbed edges, the kind of piece you’ll reach for all fall and winter. It looks great over a collared shirt, a turtleneck, or a plain tee.
Grab your yarn and a cup of tea. Let’s make something you’ll be proud to wear.
Why You’ll Love This Classic Sweater Vest Pattern
Before we dive into the steps, here’s why I think this vest is worth your time.
It’s a vest, so it’s quicker than a sweater. No sleeves means less knitting, less yarn, and a finish line that arrives much sooner. It’s a great way to practice garment knitting without a months-long commitment.
The cables are beginner-friendly. We’re using a simple six-stitch rope cable that repeats every six rows. Once you’ve done it a few times, your hands will remember the rhythm.
It’s endlessly wearable. A cream vest goes with almost everything. Layer it, belt it, wear it to the office or on a weekend walk.
The pattern is forgiving. Chunky yarn hides small mistakes and shows off cable texture beautifully. If one twist is a little uneven, nobody will notice but you.
Skill Level and Time Needed
This pattern is rated confident beginner to advanced beginner. You should be comfortable with the knit stitch, the purl stitch, and basic increases and decreases. If you’ve never used a cable needle, don’t worry. I’ll show you exactly how, and I’d suggest knitting a small practice swatch first.
Time-wise, expect around 20 to 30 hours of knitting, depending on your speed. That’s roughly two to three weeks if you knit an hour or two each evening.
Materials You’ll Need
Here’s the full supply list:
- Chunky (bulky, weight 5) yarn in cream or off-white. About 600 to 750 yards (550 to 685 m) for a size medium. A soft wool or wool blend gives the best cable definition. Plant fibers like cotton can feel heavy, and very fuzzy yarns hide the twists.
- Knitting needles, 6 mm (US 10). These are for the main body. Straight needles work for the front and back pieces.
- Knitting needles, 5 mm (US 8). These are for the ribbing, which keeps the edges snug and tidy.
- 16-inch (40 cm) circular needle, 5 mm. For the neckband and armhole bands.
- A cable needle. Pick a short one with a little bend in the middle. It keeps the held stitches from sliding off.
- Stitch markers. Four or five is plenty.
- Tapestry needle. For seaming and weaving in ends.
- Measuring tape and scissors.
- Blocking mats and pins. Optional, but I really recommend them.
A quick note on yarn: Buy all your yarn at once and check the dye lot numbers. Cream shades can vary noticeably between lots, and you don’t want a stripe across your vest.
Gauge and Sizing
I know, I know. Nobody likes making a gauge swatch. But with a fitted garment, it’s the difference between a vest you love and one that lives in a drawer.
Gauge: 16 stitches and 22 rows = 4 inches (10 cm) in stockinette stitch on 6 mm needles.
Cast on 25 stitches and work about 30 rows in stockinette. Wash and dry it the way you plan to care for the finished vest, then measure. If you have more stitches per inch than the gauge, go up a needle size. If you have fewer, go down.
Cabled fabric pulls in horizontally, so a cabled panel is narrower than plain stockinette with the same stitch count. This pattern accounts for that with reverse stockinette side panels, which give you room to adjust.
Sample size (Medium, fits 36 to 38 inch bust, with a little ease):
- Finished width: about 19 inches (48 cm) front and back each
- Total length: about 21 inches (53 cm)
- Armhole depth: about 8 inches (20 cm)
Want a different size? Add or remove stitches in the reverse stockinette side panels, 4 stitches at a time (about 1 inch). That keeps the cables perfectly intact.
Abbreviations You’ll See
- K: knit
- P: purl
- St(s): stitch(es)
- RS / WS: right side / wrong side
- C6F: cable 6 front. Slip 3 stitches onto the cable needle and hold at the front, knit 3, then knit the 3 from the cable needle.
- C6B: cable 6 back. Slip 3 stitches onto the cable needle and hold at the back, knit 3, then knit the 3 from the cable needle.
- K2tog: knit 2 together (right-leaning decrease)
- SSK: slip, slip, knit (left-leaning decrease)
- Rib: 2×2 ribbing (K2, P2 repeated)
How the Rope Cable Works
Before we start the vest, let’s make sense of the cable. It’s the heart of the whole project, and once you understand it, everything else is easy.
Our rope cable uses 6 stitches and repeats every 6 rows:
- Row 1 (RS): C6F (or C6B for the mirrored version)
- Row 2 (WS): P6
- Row 3 (RS): K6
- Row 4 (WS): P6
- Row 5 (RS): K6
- Row 6 (WS): P6
Only one row in six has any cabling. The other five are plain knit and purl. That’s what makes this pattern such a good first cable project.
How to do a cable cross:
- Slip the first 3 stitches onto your cable needle.
- Move the cable needle to the front (for C6F) or back (for C6B) of your work.
- Knit the next 3 stitches from your left needle.
- Knit the 3 stitches from the cable needle.
That’s the whole trick. Give your work a gentle tug afterward so the twist settles.
The Stitch Layout
Here’s how the front panel is arranged. Each section is separated by purl stitches, which make the cables pop.
Cable panel (60 stitches, RS, left to right):
P2, Rope (6), P2, Rope (6), P2, K4, P2, Center Braid (12), P2, K4, P2, Rope (6), P2, Rope (6), P2
- Rope (6): the six-stitch rope cable described above, using C6F.
- K4: four stitches of plain stockinette, forming a smooth column between the cables.
- Center Braid (12): two ropes side by side. The left rope uses C6B and the right rope uses C6F, so they twist toward each other and form a braid effect down the middle.
On the wrong side, knit the purls and purl the knits as they face you, and purl the cable stitches.
Full row (RS): K12 (or P12, see below), work the 60-stitch cable panel, then 12 more reverse stockinette stitches.
The 12 stitches on each side are in reverse stockinette (purl on RS, knit on WS). That gives you 84 stitches in total.
Step 1: Cast On and Knit the Ribbed Hem
Let’s start at the bottom of the front.
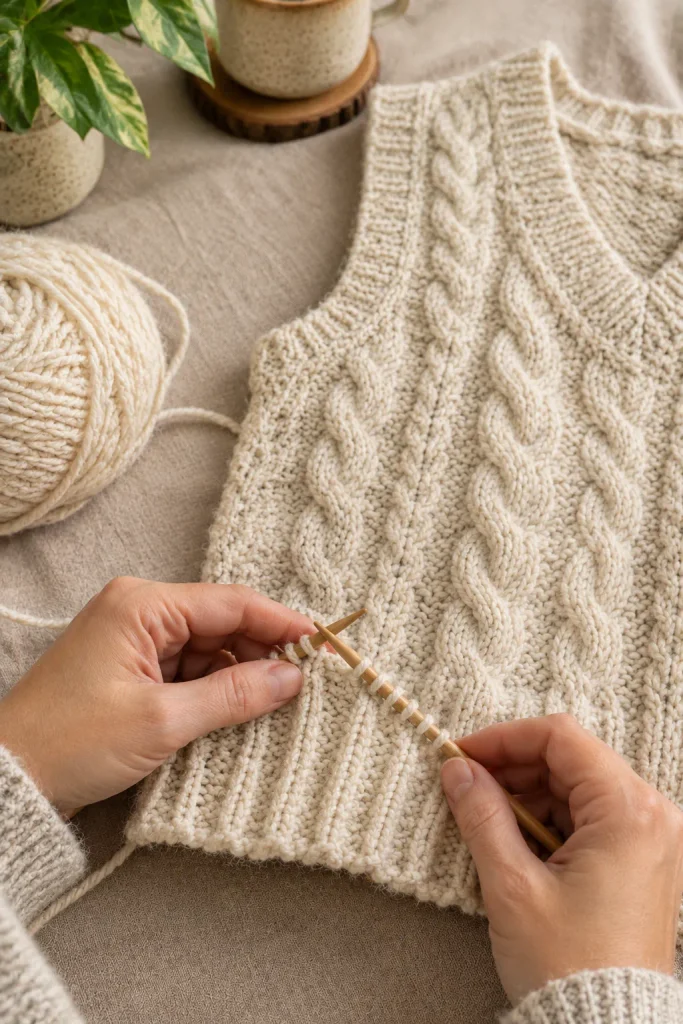
With the 5 mm needles, cast on 84 stitches. I use a long-tail cast on because it’s stretchy and neat, but any stretchy method works.
Row 1 (RS): K2, P2 repeat to the end.
Row 2 (WS): Work the stitches as they appear: knit the knits and purl the purls.
Repeat these two rows until the ribbing measures about 3 inches (7.5 cm), roughly 16 to 18 rows.
A couple of tips for a good-looking hem:
- Keep your tension even. Ribbing wants to pull tight, so don’t yank the yarn when switching between knit and purl.
- Use the smaller needles. The 5 mm needles keep the hem snug so the vest sits nicely at your hips instead of flaring out.
- Count your stitches. It’s much easier to catch a mistake now than 60 rows later.
When the ribbing is done, end after a WS row so you’re ready to start the pattern on the right side.
Step 2: Start the Cable Pattern
This is where the vest gets exciting. Switch to your 6 mm needles.
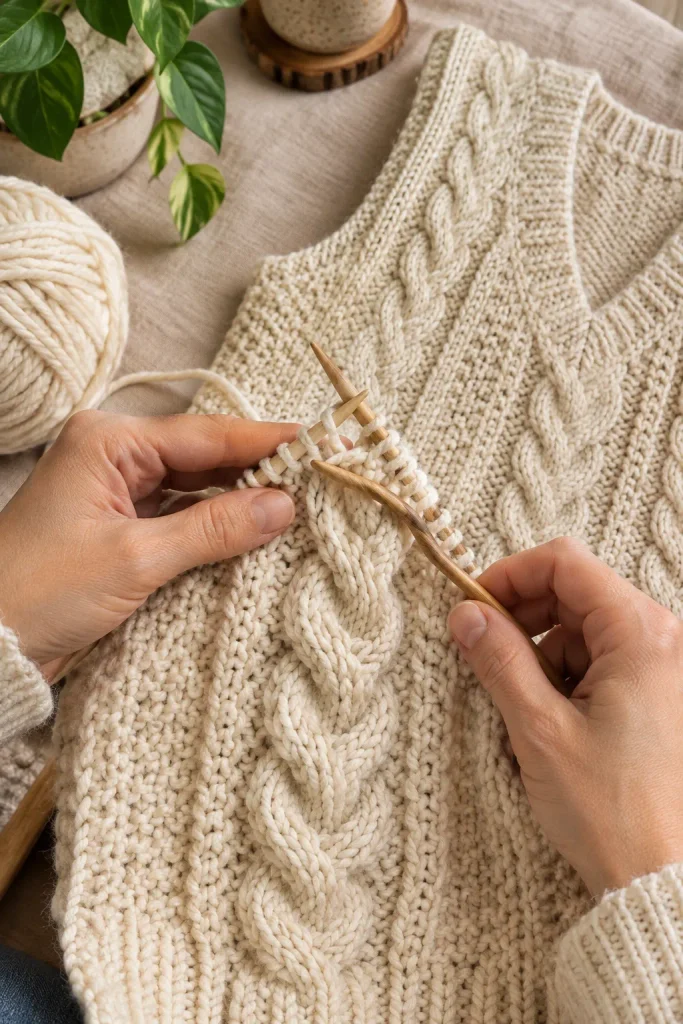
Row 1 (RS): P12, work the 60-stitch cable panel with cable crossing on all ropes, P12.
Row 2 (WS): K12, work the cable panel as it faces you (purling the ropes), K12.
Rows 3 to 6: Continue in pattern, working the ropes as plain knit on RS and purl on WS, with no crosses.
Row 7: Repeat Row 1, with all cables crossing again.
From here, you’ll cross your cables every 6 rows. I like to put a sticky note or a row counter on my pattern so I always know where I am.
A few cable tips that saved me
Place a stitch marker between each cable. It sounds fussy, but it stops you from losing track in the middle of a row. Slide the markers along as you work.
Don’t pull the stitches tight after the cross. The first stitch after a cable is the one most likely to look stretched. Keep your tension the same as always, then gently snug it up on the next row.
Cross the center braid correctly. The left rope uses C6B and the right rope uses C6F. If you cross both the same way, you’ll get two parallel ropes, which looks nice but not like a braid. Take a look at your first few crosses to check the shape is forming correctly.
Use a cable needle that suits your yarn. With chunky wool, a slightly larger cable needle makes life easier. If your stitches feel crowded, try a different size.
Don’t panic over a mistake. If you cross a cable the wrong way, you can usually fix it by dropping down just those stitches on the cable column and re-working them. Cables are more forgiving than they look.
Step 3: Work the Body Straight
Keep working in pattern until your piece measures about 13 inches (33 cm) from the cast-on edge, or whatever length you want before the armholes. Because the vest has a slightly cropped, classic fit, this is perfect for most people, but you can add an inch or two if you want it longer.
End after a WS row.
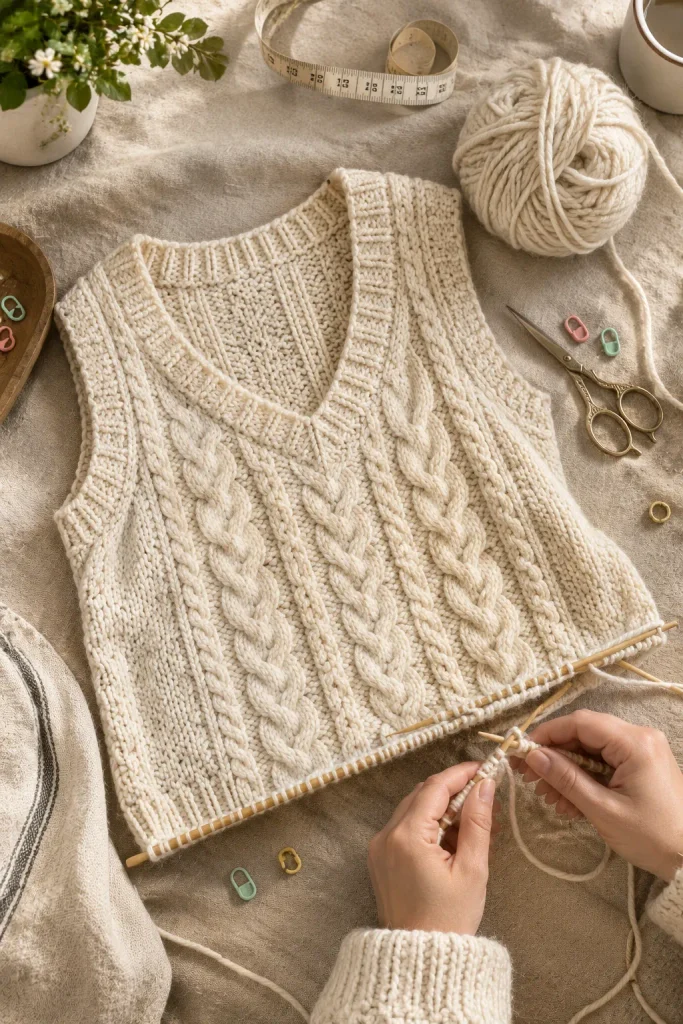
This is a good moment to lay your work flat and measure. Don’t stretch it. Just let it rest. Compare it to a vest you already own and love. If the length looks right, move on. If not, keep knitting a few more rows.
Step 4: Shape the Armholes and Start the V-Neck
Now we begin shaping. The armholes and the neck both start at the same time, so read this section all the way through before you begin.
Armhole shaping
Row 1 (RS): Bind off 5 stitches at the beginning of the row, then work in pattern to the end. (79 stitches)
Row 2 (WS): Bind off 5 stitches at the beginning of the row, then work in pattern to the end. (74 stitches)
Then, to make a smooth curve:
Decrease Row (RS): K1, SSK, work in pattern to the last 3 stitches, K2tog, K1.
Repeat the decrease row every RS row 3 times in total. You’ll have 68 stitches left.
V-neck shaping
When you begin the armhole, also split the front for the V-neck:
- Work across the first 34 stitches (the left side of the front).
- Place the remaining 34 stitches on a spare piece of yarn or a stitch holder.
- Continue on the left side only.
On the neck edge, decrease 1 stitch every 3rd row, a total of 14 times. The decrease is worked K2tog at the right-hand edge of the left front (so the slant follows the neck), or SSK on the opposite side.
Meanwhile, keep working the armhole edge straight.
Here’s the part that confuses most people: the center braid will be cut in half by the V. As you decrease, stop working the cable crosses on any rope that no longer has enough stitches to complete a full cross. Just knit those stitches plain, and they’ll blend in as ordinary stockinette. It looks natural and nobody will ever see the difference.
When the neck decreases are done, you’ll have 20 stitches left for the shoulder. Continue straight until the armhole measures about 8 inches (20 cm), then bind off.
Now rejoin the yarn to the held stitches on the right side, and work the second side to match, reversing the shaping so the decreases lean the opposite way.
Tip for matching sides
Keep a notebook beside you and write down every row where you decreased on the first side. When you knit the second side, you’ll just follow your own notes. It takes a couple of minutes, and it keeps both V-neck edges perfectly symmetrical.
Step 5: Knit the Back
The back is much simpler. Work exactly the same way as the front, including the ribbed hem, cable panels, and armhole shaping, but skip the V-neck shaping.
Once the armholes are 8 inches deep (20 cm), you’ll shape the back neck and shoulders:
- Work 20 stitches in pattern for the first shoulder, then bind off.
- Bind off the center 28 stitches for the back neck.
- Work the final 20 stitches for the other shoulder, then bind off.
You’ll notice the back cable pattern looks just like the front without the split braid. It makes a clean, balanced look when the vest is worn.
Step 6: Blocking Your Pieces
Please don’t skip this step. Blocking turns lumpy, curling knitting into a smooth, professional-looking garment, and cables benefit most of all.
- Gently wash both pieces in lukewarm water with a bit of wool wash.
- Press out water with a towel. Don’t wring.
- Lay the pieces flat on blocking mats and shape them to the correct measurements.
- Pin the edges lightly, leaving the ribbing unstretched.
- Let everything dry completely, which may take a day or two with chunky wool.
When you unpin your pieces, you’ll see how much better they look. The cables will be crisp and the edges flat.
Step 7: Seam the Shoulders and Sides
Use the tapestry needle and a length of your vest yarn.
- Shoulders: Place the front and back right sides together, or use mattress stitch from the right side for the neatest look. Join the shoulder seams only, leaving the sides open for now.
- Sides: After the neckband and armhole bands are done, sew the sides together from the hem up to the armhole. I prefer mattress stitch because it makes an almost invisible seam.
Try to match your cable columns across the seam. If the cable on the front lines up with the cable on the back, the side seam almost disappears.
Step 8: Knit the V-Neck Band
Now for the finishing touches that make a vest look polished.
Using the 5 mm 16-inch circular needle, with the right side facing, start at the left shoulder seam.
- Pick up and knit stitches evenly down the left edge of the V, about 3 stitches for every 4 rows.
- Place a marker at the V point, then pick up one stitch at the exact center.
- Pick up the same number up the right side.
- Pick up stitches across the back neck, then join in the round.
You should end up with roughly 100 to 110 stitches. The exact number isn’t critical as long as it’s a multiple of 4 and the stitches look evenly spaced.
Round 1: K2, P2 around, working the center-V stitch as a knit. This center stitch is the one that will make your V look crisp.
Round 2 (decrease round): Work in rib as set, but at the center V, do a centered double decrease (slip 2 stitches together knitwise, K1, then pass the 2 slipped stitches over). This keeps the V sharp and the rib lines flowing neatly.
Repeat Round 2 every round for about 1 inch (2.5 cm), or around 5 to 6 rounds. Bind off loosely in rib.
If your bind off feels tight, use a needle one size larger for the last round. A tight neckline will pull the vest up and look puckered.
Step 9: Add the Armhole Bands
With the circular needle and the right side facing, pick up and knit stitches evenly around one armhole, starting at the underarm. As a rule of thumb, pick up about 3 stitches for every 4 rows along the straight edges, and 1 stitch per bound-off stitch at the underarm.
Work 1×1 or 2×2 rib for 1 inch (2.5 cm) and bind off in rib.
I use the 2×2 rib to match the hem and neckband, but 1×1 rib gives a slightly neater edge if your armholes are on the smaller side.
Repeat for the other armhole.
Then sew the side seams, weave in all ends, and give the whole vest one final light steam press (no direct pressing on the cables, please).
Common Mistakes (and How to Avoid Them)
I’ve made nearly all of these, so let me save you some time.
Cables that look loose or gappy. This usually comes from pulling the stitches too tight after the cross, or not tight enough. Aim for even tension and give each cross a gentle tug.
Forgetting a cable row. Keep a row counter, or tick off each row on a printed copy of the pattern. A missed cross shows up as a long, stretched section in the rope.
Skipping the swatch. I mentioned it earlier, and I’ll say it again. If your gauge is off, the vest will be too tight or too loose, and no amount of blocking will rescue it.
Using slippery yarn. Smooth, slippery yarns make cables hard to control. Stick to a wool or wool blend with a bit of grip.
Rushing the ribbing. The ribbing frames the whole vest. Neat edges make everything else look better.
Wrong stitch count after decreases. Count after every shaping section. It takes a minute and prevents a lot of tears.
Ways to Customize Your Vest
Once you’ve made the classic version, you can easily make it your own.
Change the color. A deep forest green, a dusty rose, or a charcoal grey looks fantastic in this pattern. Solid or lightly heathered yarns show cables best. Avoid variegated yarns, which hide the texture.
Go longer or shorter. Add 2 to 3 inches before the armholes for a longer, tunic-style vest. For a cropped look, take off an inch or two.
Try a crew neck. Skip the V-neck shaping and bind off the center 28 stitches on both front and back for a rounded neckline.
Add a different cable. Swap the rope cable for a wheat-ear or honeycomb pattern. Just keep the stitch counts the same so the vest still fits.
Make a kids’ version. Reduce the stitch count in the reverse stockinette side panels, and shorten the body and armholes. A mini matching vest is a lovely gift.
How to Care for Your Cable Knit Vest
A handmade vest deserves a bit of care.
- Wash by hand in cool water with a gentle wool wash.
- Don’t wring or twist. Press the water out gently in a towel.
- Dry flat away from direct heat and sun. Never hang a wet knit, because it will stretch out of shape.
- Store folded, not on a hanger. Hangers leave bumps in the shoulders.
- Use a fabric shaver sparingly if you get pilling. Wool often pills a little at first, and it settles down after the first few wears.
Frequently Asked Questions
Can I knit this vest in the round?
Yes, but it changes the cable instructions, because you’d be working only on the right side. You’d also need to split for the armholes and neck at the right time. If you’re a beginner, I’d stick to the flat pieces first.
What if I don’t have a cable needle?
A spare double-pointed needle, a pencil, or even a large paperclip can stand in. It’s not the prettiest solution, but it works.
How much yarn do I need for other sizes?
For a size small, plan on about 550 yards. For a large or extra-large, 800 to 900 yards is safer. If you’re between sizes, buy an extra skein. Running out of yarn halfway through the neckband is no fun.
Can I use a lighter yarn?
You can, but you’ll need to recalculate the stitch counts based on your gauge. Worsted weight, for example, will give you a more delicate, drapey vest and use more stitches overall.
My cables look flat. What went wrong?
Check your yarn and needles. Very thin yarn or needles that are too large can make cables disappear. Chunky wool on 6 mm needles gives that rich, rounded look.
Is this pattern good for beginners?
It’s a great first garment if you’ve already knit a few flat projects. The cables are straightforward, and everything else is basic shaping. Take your time and don’t be afraid to rip back a few rows.
Final Thoughts
Making a cable vest is one of those projects that feels more impressive than it is. The twisted ropes, the clean ribbing, the cozy cream wool… people will ask where you bought it, and you’ll get to say, “I made it.”
If you’ve been putting off cables because they seemed too tricky, this is your sign. Start with that swatch, learn the rope cross, and let the rhythm carry you. Before long, you’ll have a classic sweater vest that works with just about everything in your wardrobe.
I’d love to see how yours turns out. Tag your finished vest, share your color choices, and let me know which part gave you the most trouble. I read every comment and always learn something from your tips.
Happy knitting, and stay cozy!
More cozy handmade ideas to explore next: If you’re in a festive mood after finishing this vest, you might enjoy our Jack-o’-Lantern Pumpkin Bag Crochet Halloween Idea, a fun and quick make for the season.
2 thoughts on “Easy Cable Knit Vest Tutorial | Classic Sweater Vest Pattern”