If you love crochet and have a soft spot for fantasy creatures, a handmade dragon is one of those projects that is hard to resist. Dragons have personality, character, and plenty of little details that make crocheting them more interesting than a simple stuffed animal. From the curved horns and wings to the textured body and tiny claws, every part gives you something fun to work on.
This must make dragon crochet pattern for fantasy fans is especially appealing if you enjoy amigurumi projects that look impressive without needing an enormous amount of yarn or complicated equipment. A finished crochet dragon can become a cute shelf decoration, a handmade gift, a fantasy-themed room accent, or simply a fun project to keep for yourself.
The best part about dragon crochet projects is that you can take your time with the small details. The body gives you a chance to practice shaping, while the wings, horns, spikes, feet, and facial details bring the character to life.
In this guide, we will look at what makes a crochet dragon project enjoyable, what materials you need, how to approach the construction, useful tips for getting clean stitches, common mistakes to avoid, and ways to make your finished dragon look polished and professional.
Table of Contents
- Why Crochet Dragons Are So Fun to Make
- What Makes This Dragon Crochet Project Special
- Materials You Will Need
- Choosing the Right Yarn
- Choosing a Crochet Hook
- Recommended Skill Level
- Understanding the Dragon’s Main Parts
- Tips for Getting a Neat Crochet Shape
- How to Approach the Dragon Step by Step
- How to Attach the Small Details
- Common Crochet Dragon Mistakes
- Tips for Making Your Dragon Look More Professional
- Time-Saving Tips for Crochet Amigurumi
- Gift Ideas for a Finished Crochet Dragon
- Caring for Your Handmade Dragon
- Frequently Asked Questions
- Final Thoughts
Why Crochet Dragons Are So Fun to Make
There is something special about crocheting a dragon because the finished character has much more personality than a basic stuffed animal.
A dragon can be cute, mysterious, magical, fierce, or playful depending on the colors and details you choose. Even when you follow the same basic pattern, small changes in yarn colors, facial details, or accessories can give the finished piece a completely different personality.
For fantasy fans, this makes a dragon particularly rewarding.
You also get to work with several different crochet techniques in one project. The main body usually involves simple rounds and increases and decreases, while smaller components such as wings, horns, spikes, feet, and facial details give you opportunities to practice shaping.
If you enjoy amigurumi, a dragon is also a great project for improving your ability to work in three dimensions.
What Makes This Dragon Crochet Project Special
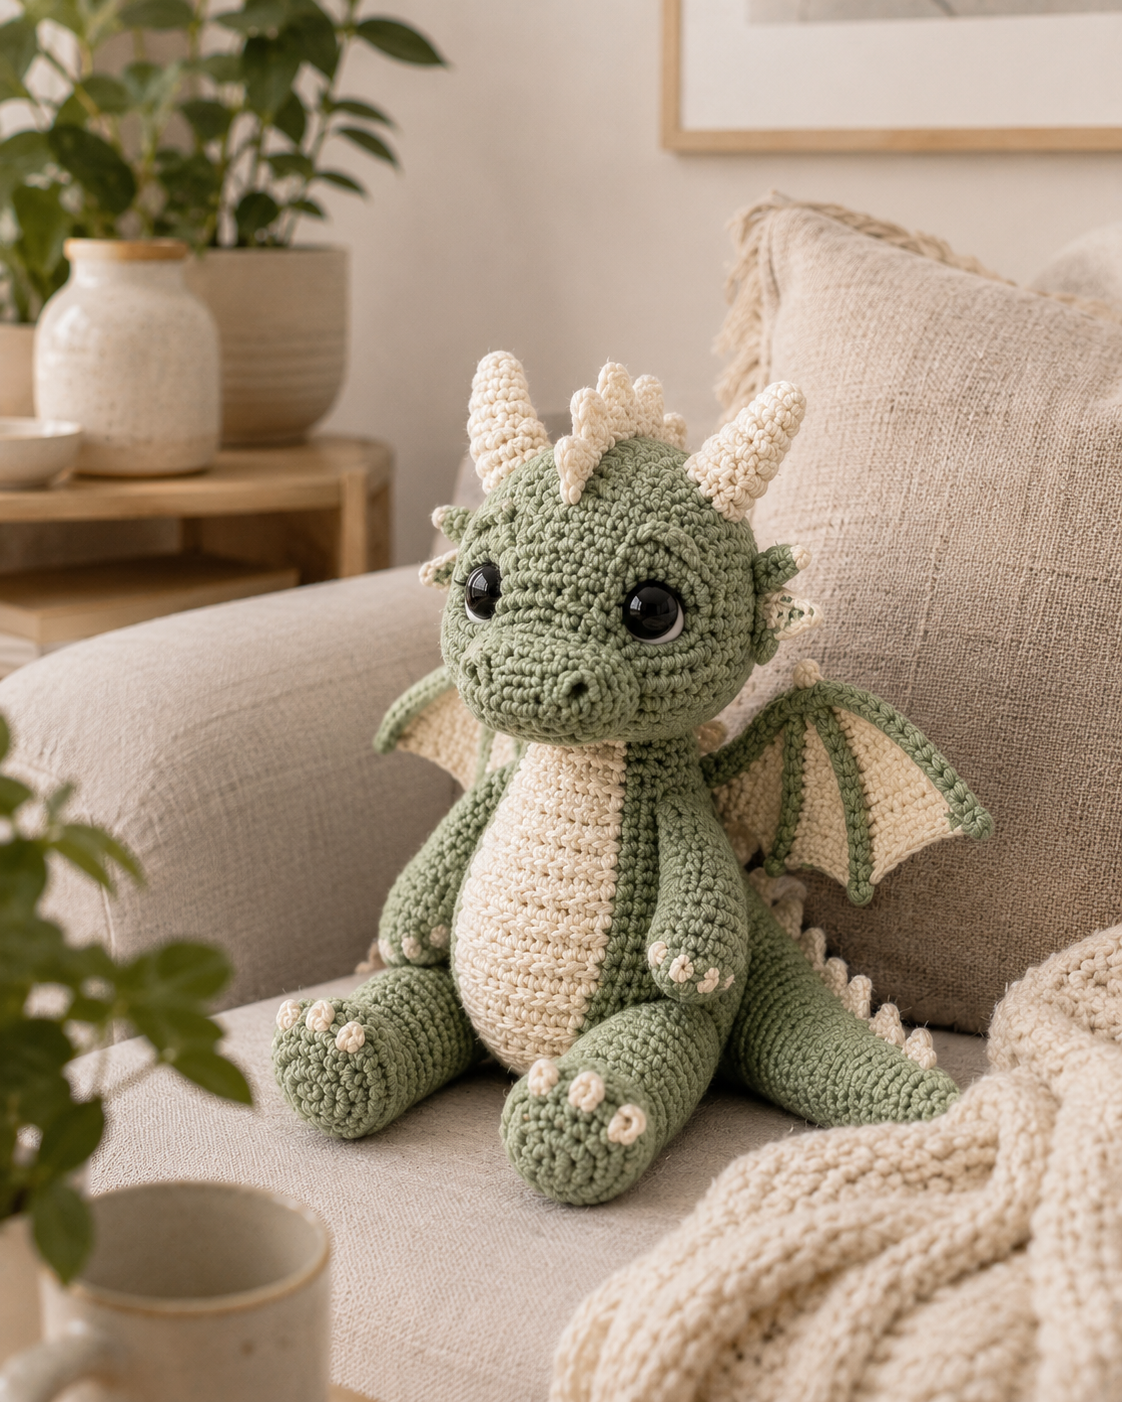
The dragon shown in the reference image has the kind of handmade character that makes crochet projects feel personal.
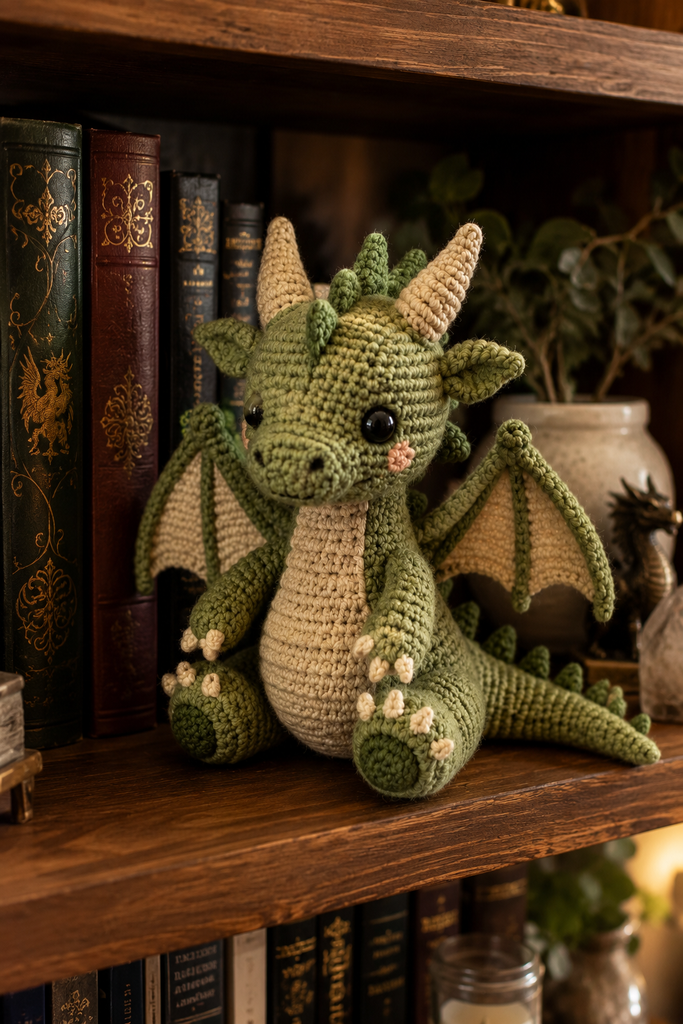
Its green and cream color combination gives it a soft fantasy look rather than making it appear overly fierce. The large eyes add a friendly expression, while the horns, wings, spikes, claws, and long tail give it unmistakable dragon features.
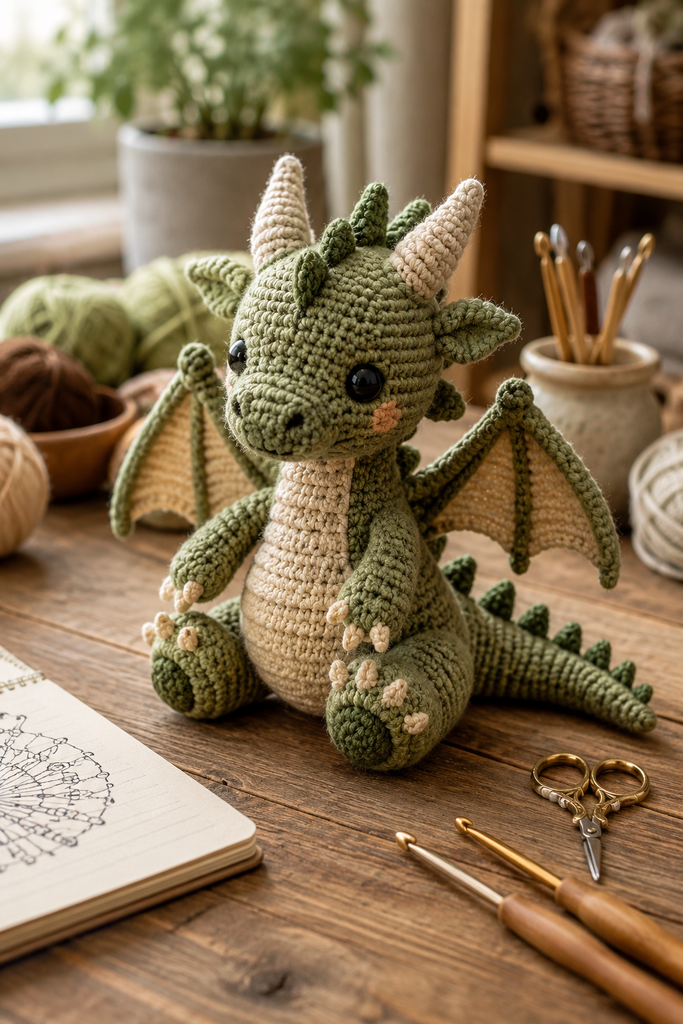
One of the biggest attractions of a project like this is the combination of simple materials and detailed results. You do not need an enormous collection of supplies to create something that looks like it belongs in a fantasy-themed display.
The details do the work.
Materials You Will Need
Before beginning your dragon crochet project, gather everything you are likely to need. Having your supplies ready makes the process much easier, especially when you reach the smaller pieces.
Basic Supplies
You will generally want:
- Worsted-weight or similar yarn
- Green yarn for the main body
- Cream or beige yarn for contrasting details
- A suitable crochet hook
- Polyester fiberfill stuffing
- Stitch markers
- Tapestry needle
- Small scissors
- Safety eyes or suitable embroidered eyes
- A measuring tape
- Pins for positioning pieces before sewing
If your specific pattern calls for different yarn weights or hook sizes, follow those instructions rather than changing everything automatically.
Optional Supplies
A few additional tools can make the project easier:
- Small craft clips
- Row counter
- Blocking tools
- Stuffing tool
- Needle threader
- Small storage containers for separate pieces
Keeping the small pieces together is particularly useful when working on an amigurumi project with wings, horns, feet, spikes, and other details.
Choosing the Right Yarn
Yarn choice has a surprisingly big impact on the finished appearance of a crochet dragon.
For an amigurumi-style dragon, a smooth yarn is usually easier to work with than a highly textured or fuzzy yarn. You want to be able to see individual stitches clearly while you are crocheting.
A medium-weight acrylic yarn is a practical choice for beginners because it is widely available, relatively affordable, and easy to handle.
Cotton yarn can also work beautifully when you want a more structured appearance and clearly defined stitches.
What About Yarn Color?
The reference dragon uses a soft green and cream combination that works particularly well for a friendly fantasy character.
You can stay close to that palette if you want a similar appearance. If you are making your own version, however, dragons also look great in combinations such as:
- Forest green and cream
- Dark green and tan
- Blue and silver
- Purple and lavender
- Rust orange and cream
- Burgundy and beige
Try to choose one dominant color and one contrasting color. Too many competing colors can make the small details harder to appreciate.
Choosing a Crochet Hook
For amigurumi, your hook should generally create firm, compact stitches.
A hook that is too large can leave visible gaps between stitches, which may allow stuffing to show through. A slightly smaller hook often produces a tighter fabric that works well for stuffed crochet figures.
However, do not choose a hook size based only on a general rule. Always consider the yarn weight and the instructions provided with your specific pattern.
If you are between sizes, make a small test section first.
Your goal is a fabric that is firm enough to hold stuffing without becoming uncomfortable to crochet.
Recommended Skill Level
A crochet dragon is usually best suited to advanced beginners and intermediate crocheters, especially when the project contains several separate components.
You should feel reasonably comfortable with:
- Working in continuous rounds
- Single crochet
- Increasing
- Decreasing
- Counting stitches
- Changing colors
- Stuffing amigurumi
- Sewing pieces together
- Working into small spaces
If you are completely new to crochet, do not let the finished appearance intimidate you. You can break the project into smaller skills and practice each one separately.
The body is one task.
The wings are another.
The horns and spikes are another.
Once you treat the dragon as a collection of manageable pieces, the project becomes much less overwhelming.
Understanding the Dragon’s Main Parts
One of the easiest ways to approach a complicated amigurumi project is to understand how the finished character is assembled.
A dragon like this can be thought of as several main components.
The Head
The head creates most of the character’s expression.
This is where stitch tension and stuffing matter the most. Overstuffing can make the head look unusually round or distort the stitches.
The Body
The body provides the main structure and connects the head, legs, wings, and tail.
Keep your stitch count accurate here because small counting errors can gradually change the shape.
The Wings
The wings are one of the most recognizable dragon features.
Their shape should remain neat and symmetrical. When attaching them, take time to position both sides before sewing permanently.
The Horns and Spikes
These small pieces add personality.
Because they are small, they are also easy to lose or accidentally sew in the wrong position. Keep them in a small container until you are ready to attach them.
The Feet and Claws
The feet give the dragon a stable, playful appearance.
Small contrasting claws can add a lot of visual detail without requiring much extra yarn.
The Tail
The tail helps complete the silhouette.
Make sure it is positioned naturally before securing it. A few temporary pins can help you decide where it looks best.
Tips for Getting a Neat Crochet Shape
A polished amigurumi project is usually the result of careful consistency rather than complicated techniques.
Keep Your Tension Consistent
Uneven tension can create visible changes in stitch size.
Try to maintain the same tension throughout each section. If your stitches suddenly become looser, the finished shape may look uneven.
Count Frequently
Do not wait until the end of a section to discover that you have the wrong stitch count.
Use a stitch marker to identify the beginning of your round and count regularly.
Stuff Gradually
Adding stuffing little by little gives you much more control.
Stuff the lower sections first, then continue adding small amounts as you crochet upward. Check the shape regularly instead of putting all the stuffing in at once.
Avoid Overstuffing
The goal is a firm but flexible character.
If you pack the stuffing too tightly, you can stretch the stitches and change the intended shape.
How to Approach the Dragon Step by Step
Even if your chosen pattern provides its own detailed instructions, this general workflow can make the project easier to manage.
Step 1: Prepare Your Materials
Choose your yarn colors and make sure your hook, stuffing, needle, stitch markers, and scissors are nearby.
Keep your colors separated so you can quickly find what you need.
Step 2: Start With the Main Body Pieces
Work through the main body and head according to your pattern.
Pay particular attention to stitch counts and increases or decreases.
Step 3: Add the Stuffing Gradually
As the body and head develop, add small amounts of stuffing.
Check the shape from different angles.
Step 4: Crochet the Smaller Components
Complete the wings, feet, horns, spikes, tail, and other pieces separately.
Do not rush this stage. Small components often make the biggest difference to the final appearance.
Step 5: Position Everything Before Sewing
Place all major pieces on the body before permanently attaching them.
This lets you adjust the position of the wings, legs, horns, and tail.
Step 6: Add the Facial Details
The eyes and facial details can completely change the personality of your dragon.
Take your time with placement. Even a small difference in eye position can make the character look happier, more curious, or more serious.
Step 7: Finish and Inspect
Once everything is attached, check the dragon carefully.
Look for loose ends, uneven attachments, visible stuffing, or pieces that need additional securing.
How to Attach the Small Details
Sewing is one of the most important finishing skills in amigurumi.
Before attaching a piece, use pins to hold it temporarily in place. Step back and look at the character from the front and side.
This is especially useful for:
- Wings
- Horns
- Ears
- Feet
- Tail
- Spikes
When sewing, use small, secure stitches and weave your yarn ends into the body where they will not be visible.
Do not rely on a single loose stitch for an important structural piece.
Common Crochet Dragon Mistakes
1. Losing Track of Stitch Counts
This is probably one of the most common problems.
Solution: Use a stitch marker and count at the end of important rounds.
2. Using a Hook That Is Too Large
Large gaps can allow stuffing to show.
Solution: Make a small test piece and check the density of your stitches.
3. Overstuffing the Head
Too much stuffing can distort the shape.
Solution: Add stuffing gradually and reshape it with your fingers.
4. Attaching Wings Unevenly
Even beautifully crocheted wings can look awkward if they are positioned differently.
Solution: Pin both wings before sewing and compare their height and angle.
5. Rushing the Finishing Stage
The final sewing and detailing can feel like the boring part, but it is often where a handmade project becomes polished.
Solution: Give yourself extra time for assembly.
Tips for Making Your Dragon Look More Professional
The difference between a good crochet project and a polished one often comes down to small details.
Keep your stitches consistent.
Hide your yarn ends carefully.
Make sure both wings are positioned evenly.
Check that the eyes are aligned.
Avoid visible stuffing.
Use a color combination with enough contrast to show the individual parts.
Most importantly, do not rush.
A few extra minutes spent repositioning a wing or adjusting an eye can make a noticeable difference.
Time-Saving Tips for Crochet Amigurumi
Crochet dragons contain many small pieces, so organization can save more time than crocheting faster.
Work Similar Pieces Together
If the pattern has two matching feet or two wings, complete them close together while the instructions are fresh in your mind.
Keep a Project Bag
Store the yarn, unfinished pieces, pattern, needles, and tools together.
This prevents you from having to search for everything every time you return to the project.
Make Notes
If you need to stop halfway through, write down exactly where you finished.
A simple note such as “completed round 18, 24 stitches” can save you from trying to figure it out later.
Gift Ideas for a Finished Crochet Dragon
A handmade dragon can make a wonderful gift for someone who enjoys fantasy, crochet, handmade crafts, or cute collectibles.
Consider making one for:
- A fantasy book lover
- A crochet enthusiast
- A tabletop gaming fan
- A fantasy-themed room
- A child’s imaginative play collection
- A handmade gift basket
- A birthday or holiday present
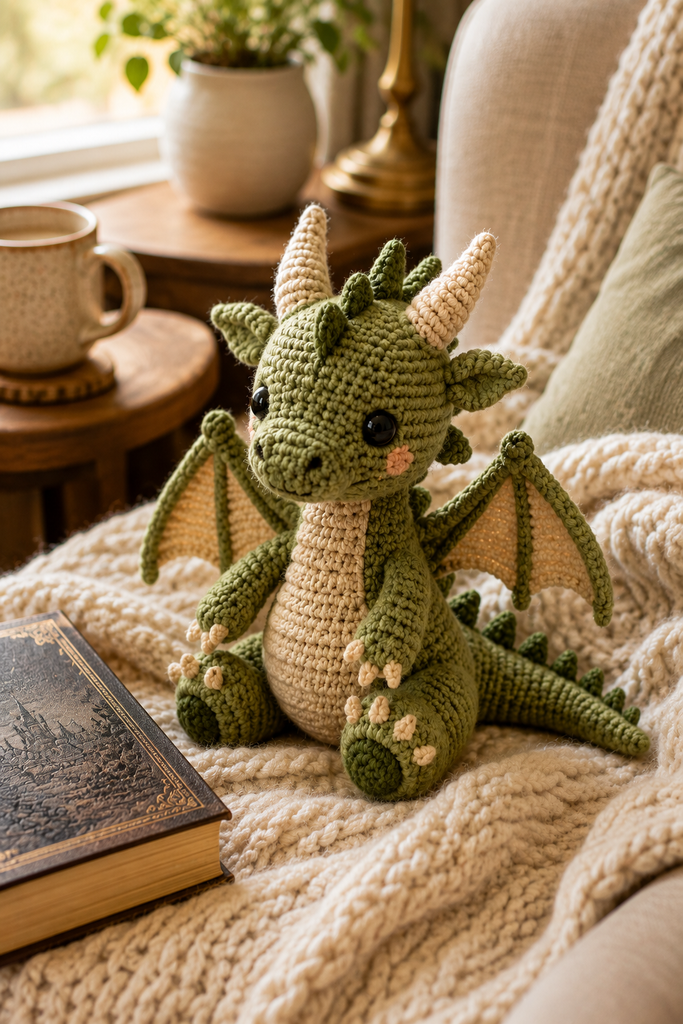
You can also pair the finished dragon with a fantasy novel, handmade bookmark, cozy blanket, or other craft-themed gift.
If the recipient is a child, always consider the safety of small components such as safety eyes, horns, and other detachable pieces.
Caring for Your Handmade Dragon
Crochet amigurumi can last for years when cared for properly.
Keep your dragon away from excessive moisture and direct sunlight for long periods, as strong sunlight can gradually fade yarn colors.
For dust, a gentle soft brush or low-suction vacuum attachment can help.
If the yarn manufacturer allows washing, follow the yarn care instructions rather than assuming every yarn can be machine washed.
For a decorative handmade piece, gentle spot cleaning is often the safest approach.
When storing it, keep the dragon somewhere dry and clean. Avoid placing heavy objects on top of it because pressure can flatten the wings, horns, or other shaped components.
Frequently Asked Questions
Is a crochet dragon good for beginners?
It can be, depending on the pattern. A simpler dragon with fewer pieces may be suitable for an advanced beginner, while a highly detailed design is better for an intermediate crocheter.
If you are new to amigurumi, practice single crochet, increases, decreases, stuffing, and basic sewing before starting a detailed dragon.
What yarn is best for a crochet dragon?
Smooth acrylic or cotton yarn is usually a practical choice for amigurumi because the stitches are easy to see and the finished shape holds well.
Choose the yarn recommended by your specific pattern whenever possible.
How much yarn does a crochet dragon need?
The amount depends on the finished size, yarn weight, hook size, and pattern design. Smaller dragons may require surprisingly little yarn, while larger decorative dragons will naturally use more.
It is always safer to have extra yarn in your main color.
Can I make the dragon in different colors?
Absolutely. A dragon is one of the most fun crochet projects to customize.
You can experiment with different body colors while keeping a contrasting shade for the belly, horns, wings, or claws.
How do I make crochet amigurumi look neat?
Focus on consistent tension, accurate stitch counting, tight stitches, careful stuffing, and clean assembly.
The finishing work is just as important as the crocheting itself.
How long does a crochet dragon take to make?
The time varies considerably depending on the size and complexity of the pattern and your crochet experience. A detailed dragon with multiple components can take several sessions.
Instead of trying to finish everything in one sitting, break the project into body, head, accessories, and assembly stages.
Can a crochet dragon be used as a gift?
Yes. Handmade dragons make memorable gifts for fantasy fans, crochet lovers, bookworms, and anyone who enjoys unique handmade decorations.
Why Fantasy Fans Will Love This Crochet Project
A dragon is more than just another amigurumi animal.
It gives you the opportunity to create a little fantasy character entirely from yarn. The horns, wings, scales or textured stitches, claws, and expressive face all contribute to its personality.
That is what makes a must make dragon crochet pattern for fantasy fans such a fun addition to a crochet project list.
Whether you make the dragon for yourself, create one as a gift, or use it as part of a fantasy-themed collection, the finished piece has plenty of personality.
And because crochet is so customizable, you can make future versions in completely different color combinations while keeping the same magical character concept.
Final Thoughts
A detailed crochet dragon may look complicated when you first see the finished project, but breaking it into smaller sections makes the process much more approachable.
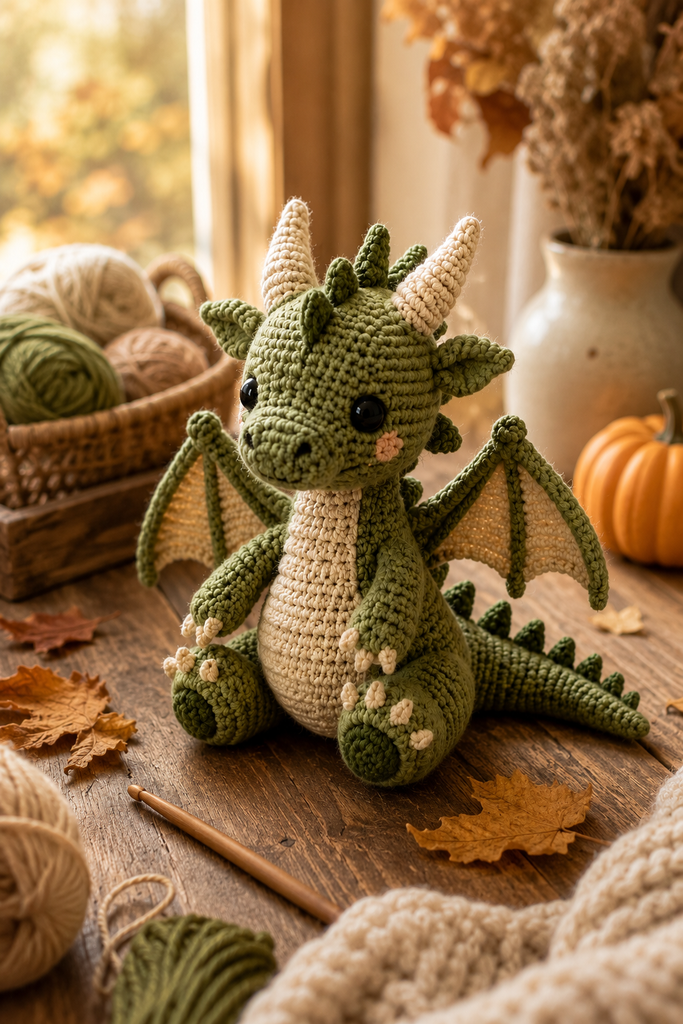
Start with good materials, keep your stitch count accurate, maintain consistent tension, and take your time with stuffing and assembly. Most importantly, do not underestimate the finishing stage. Carefully positioned eyes, wings, horns, feet, and other details are what give a handmade dragon its personality.
If you are a fantasy fan who enjoys crochet, this is the kind of project that can be both challenging and genuinely rewarding.